How to Fill Out and Sign a PDF on Your iPad
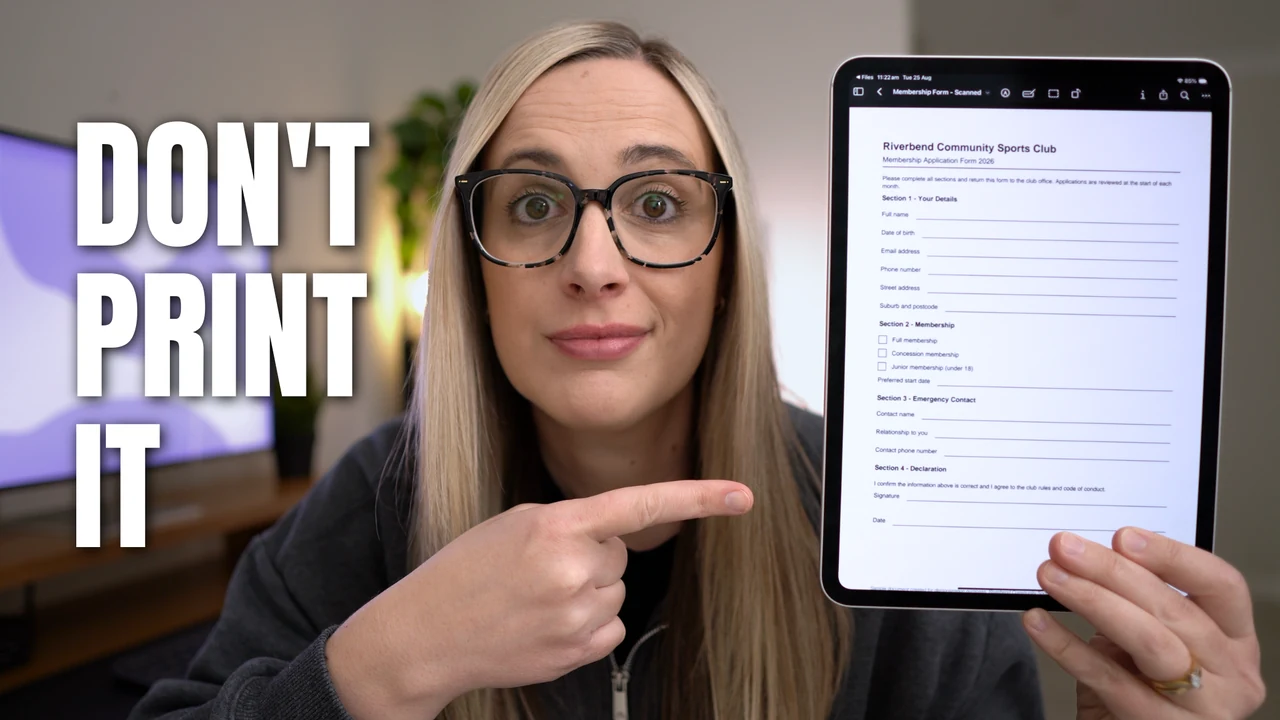
Someone emails you a form to fill out. You open it up and it's just a scanned document. There's nowhere to type and nothing to tap into, because it's basically a picture of a page. Your first thought is probably: do I need a computer, or do I print it, sign it and scan it back in?
Most people assume printing is the only way, and it isn't. Your iPad can do all of it. Here's how to turn that scanned document into something you can type into, then fill it out, sign it and send it straight back.
Save the Form to Your iPad
First, get the form out of your email and into the Files app.
- Open the email with the form and tap the attachment to open it.
- Tap the Share button and choose Save Attachment.
- Choose where to save it. You'll see two locations:
- On My iPad keeps a copy on your iPad only.
- iCloud Drive lets you open it on all your devices, if you pay for iCloud storage.
- Pick a folder. If you don't have one for documents yet, tap the new folder icon at the top and give it a name like Documents.
- If you want to rename the file, tap the name at the bottom. Then tap Save.
You could just save it into your Downloads folder, and that's fine. But I recommend organising your files properly in case you ever need to find things later. For this example I saved mine On My iPad, in a folder called Personal.
Files and Preview: The Two Apps Doing the Work
Before filling anything in, it helps to know that two apps are doing the work here:
- Files is where your document lives.
- Preview is what opens and edits it.
When you open a PDF from the Files app and swipe down from the top, you'll see it's actually opening in Preview. You can also open the Preview app directly and browse to your files from there. Both work the same way, so use whichever you like. Most of the time I just go through the Files app.
If your form has more than one page, tap the sidebar button at the top left for quick access to all the pages.
Turn the Scan into a Fillable Form
Open your form and try tapping on it. Because it's a scanned document, nothing happens. You can't type your name in, because it's practically just a picture.
But you should see a little pop up on screen saying AutoFill can assist with filling out this form.
- Tap AutoFill Form.
- Blue boxes appear over every field you need to fill out.
- Tap a box and type.
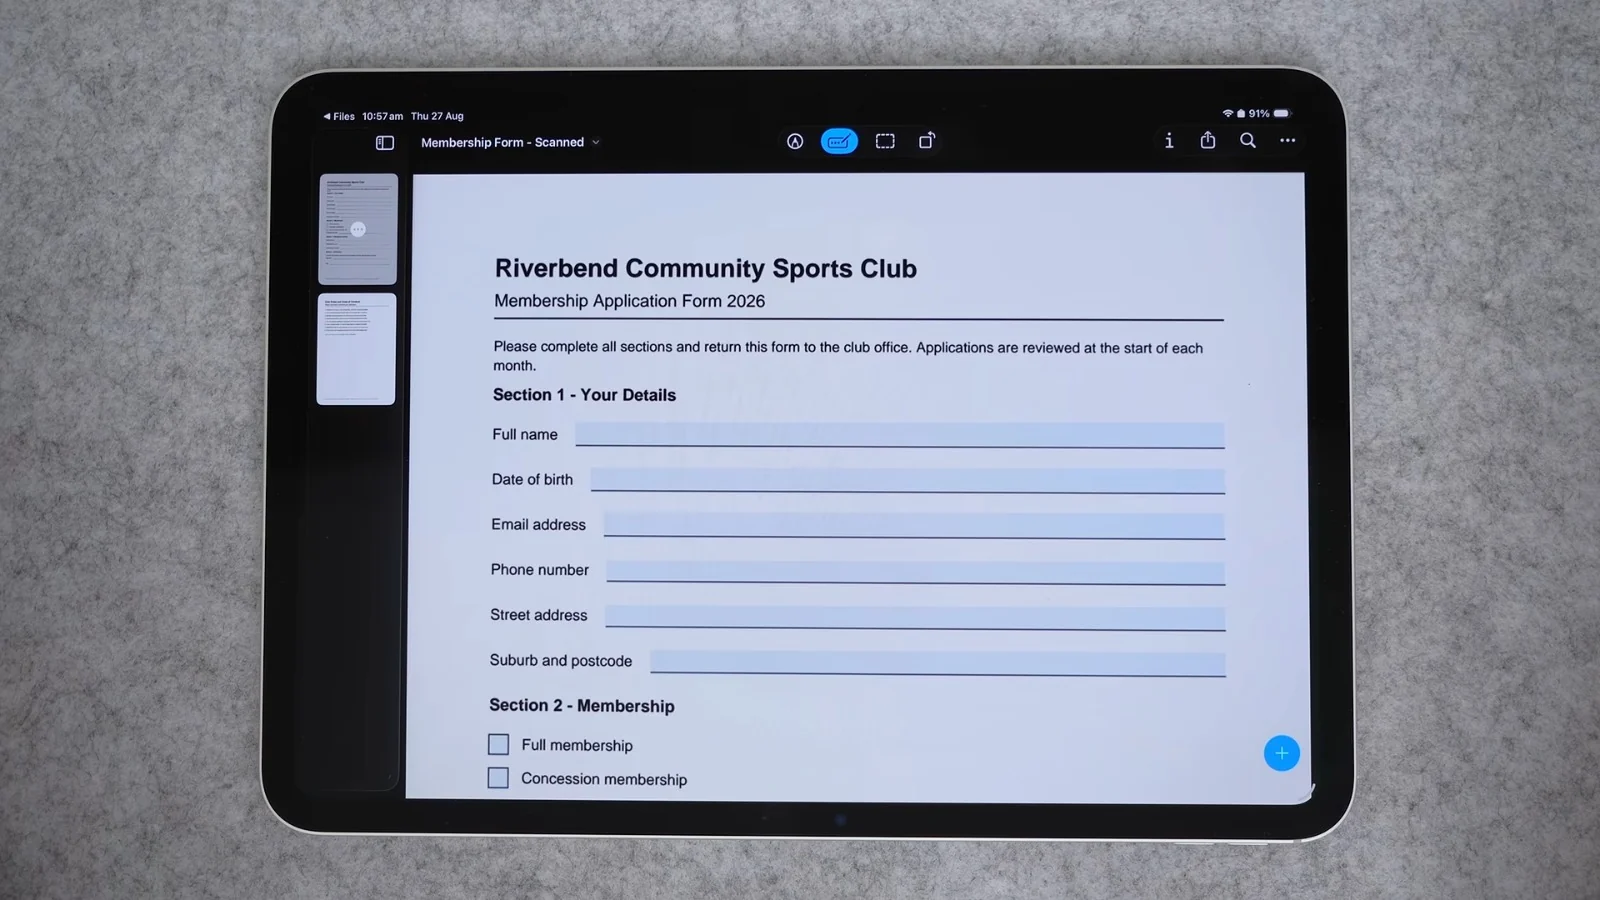
That's really all there is to it. Go through each box and type in what you need. When you tap a box, you'll also see options to change the text colour, format the text, duplicate the field or delete it, plus a few more under the three dots.
For checkboxes, just tap the box and pop an X in there. That's usually what I do.
Didn't get the pop up?
If the AutoFill pop up doesn't appear, the same option is in the toolbar. Look for the little blue form icon at the top. Tap it to hide all the boxes, and tap it again to bring them back.
Add a Text Box It Missed
Occasionally it won't put a blue box where you need one. It depends on the quality of the scan. To add your own:
- Tap the + button at the bottom.
- Choose Add Text Form Box.
- Drag the box to wherever you need it. Zooming in makes this easier.
- Tap into it and type.
Add Your Signature
You could just type your name into the signature field, but that's not signing a document properly. Instead, you can create a signature once and keep it in Preview, so next time you fill out a form it's already there. There are two ways to add it.
Option 1: From the form button
- Tap the blue form button and choose Add Signature.
- Tap + to create a new signature.
- Write your signature in the box. It's a lot easier with an Apple Pencil, but your finger works too. If you make a mistake, tap Clear and try again.
- When you're happy with it, tap the tick to place it on the page.
- Drag the blue dots to resize it, and tap in the middle to move it where you need it.
Option 2: From Markup
- Tap the Markup button (the little circle with a pen).
- Tap + and choose Add Signature.
- Pick one of your saved signatures, or tap to manage them.
Once you've created a signature, it stays there and you can use it any time.
When I placed mine this way, it came in white for some reason. If that happens to you, tap the signature, tap the line option, and change the colour to black. You can change the thickness there too.
Quick Tip: Draw with Your Finger
If you want to use the Markup pens to draw on or highlight something with your finger, tap the More menu (the three dots) and turn on Draw with Finger. If you're using an Apple Pencil, you don't need this on.
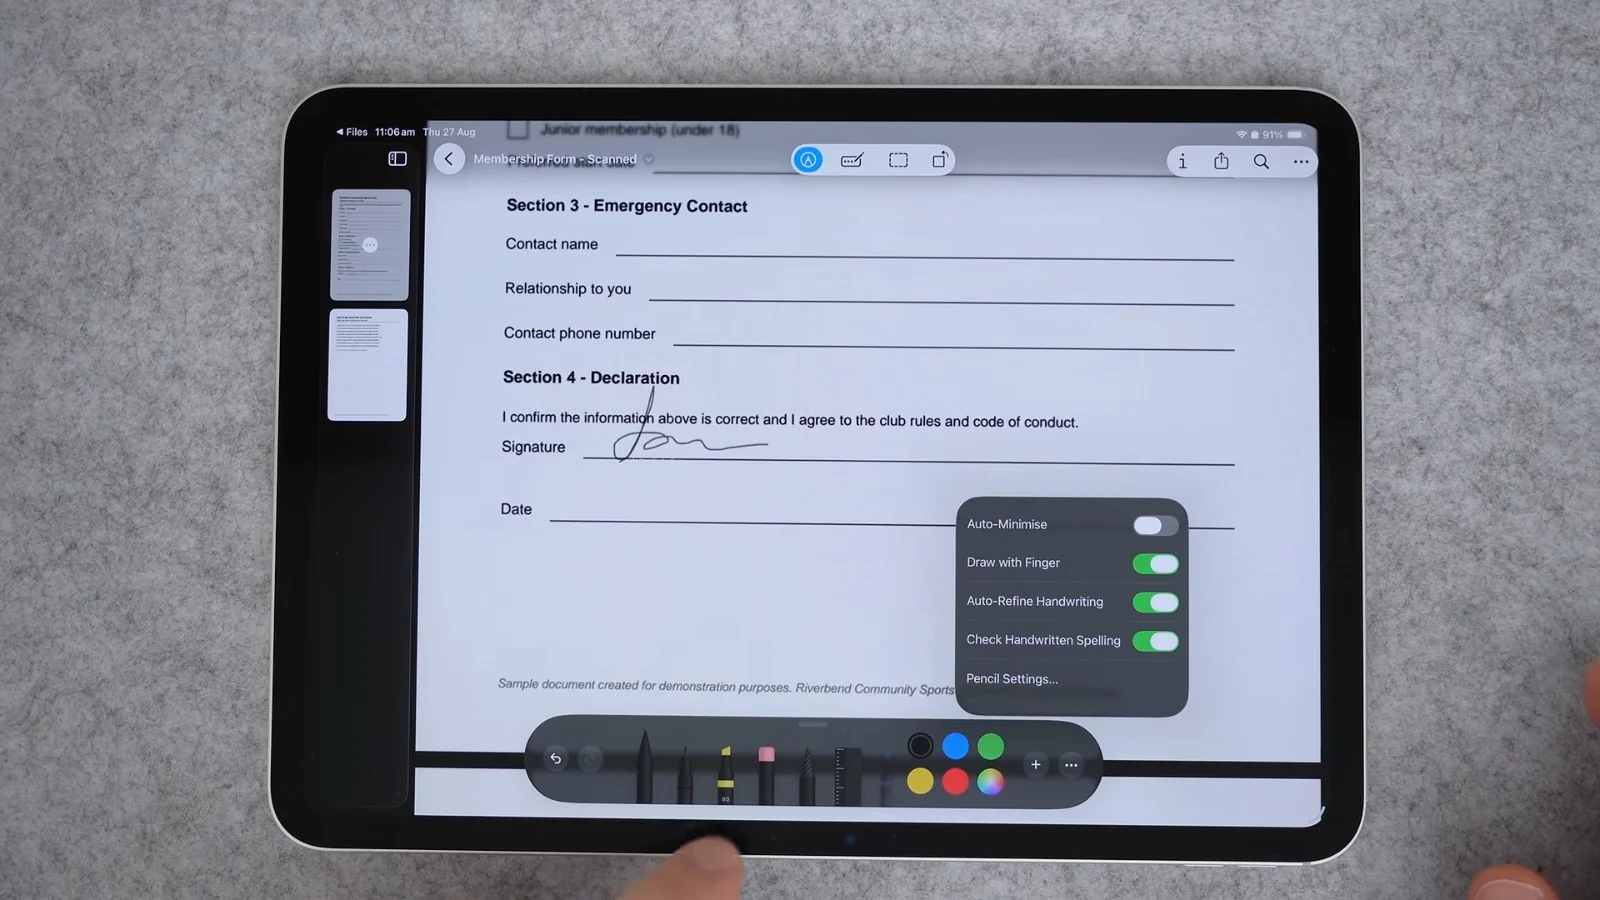
Made a mark you don't want? Tap the undo arrow to remove it.
When you're done, turn the form boxes off so you can see what the finished document looks like and check everything is right.
Save the Signed Copy
- Tap the Share button at the top.
- Choose Save to Files.
- Go to the same folder as the original.
- Rename the file, then tap Save.
I like to rename the filled out copy to something like today's date and "signed", or "Sam signed". The file name is what shows up as the attachment in your email, so it helps whoever you're sending it to as well.
Back in the Files app, you'll now see the original form and the signed one sitting side by side.
Email It Back
- Go back to the email in the Mail app and tap Reply.
- Above the keyboard, tap the attachment icon (the paperclip) and choose Attach File.
- Select the signed copy. If the name is cut off, tap it to preview and check it's the right one.
- Type a short note like "Please see attached for the signed form" and tap Send.
That's a form that arrived as a scan, filled in, signed and sent back, with no computer and nothing printed.
The signature is the part worth setting up today, even if you've got nothing to sign right now. Set it up once and it's ready the next time you need it.
Watch the Full Video
You can follow along with every step in my full video below.